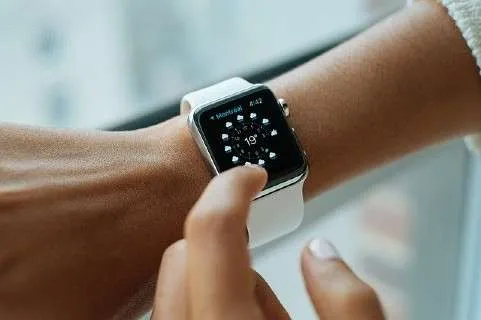
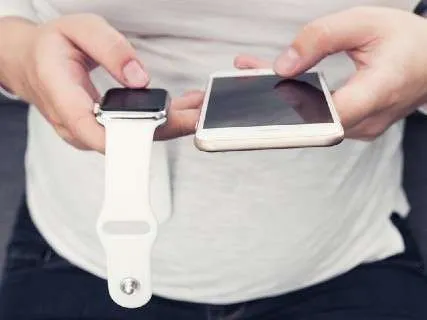
The world is a cruel place for left-handed people, as nearly everything is designed to cater to right-handed people. From desks to watches, left-handed people often have to make do with everything designed for a right-handed person. Dealing with regular watches is especially inconvenient for lefties as the crown is set on the right-hand side. However, since about 12% of the world’s population is left-handed, Apple made sure to design the Apple Watch for left handers and right handers. The Apple Watch is the most popular smartwatch, with more than 100 million units sold so far.
This article explains how you can turn an Apple Watch into a watch for left-handers.
Table of Contents
Is There An Apple Watch for Lefties?
There is no Apple Watch specifically designed for lefties, unlike a few normal watches for left-handers. However, since it is a smartwatch, you can easily turn the regular Apple Watch into one suited just as well to lefties. This means that you can wear it on your right hand if you wish to and access its functions like any right-hander.
Should I Wear My Apple Watch on My Left or Right Hand?
As a general rule, you should wear a watch on your non-dominant hand. So a left-handed person should wear it on their right arm and vice versa. This allows the user to easily access the crown while wearing the watch instead of removing it to do so.
So maybe someone gave you an Apple Watch as a gift without thinking about whether you, as a left-hander, can actually use it comfortably. When it comes to this watch, it can be worn on any arm, as the sensors of the Apple Watch do not recognize which arm it is on without you telling it. So you don’t need to worry about your Apple Watch showing inaccurate results. You can wear it on any wrist and get the same results. By default, it is set to suit a right hander who would wear it on the left wrist, but these settings are easy to find and change if you want to wear it on the right wrist.

Left-handed people find it more convenient to wear Apple Watches on their right arms, as it is their non-dominant hand. However, since Apple Watches are set to be worn on the left hand by default, you may want to set it up to be worn on the right wrist to use it comfortably. This affects two aspects of the watch.
- The “Raise to Wake” function won’t work on the right arm by default, as this is set to activate the screen only if it’s worn on the left arm.
- The Digital Crown is used frequently for many watch functions, so its placement on the face should feel comfortable when touching it with your left hand. For most lefties, this would be on the left side of the face instead of the default right.
Apple allows you to change your Apple Watch orientation to allow left-handed use in both or either of the two aspects above. You can enable the left-handed mode on your Apple Watch to allow it to work while worn on the right hand AND reverse the button positions. Doing the latter would make the entire face rotate 180 degrees so that the Digital Crown appears on the left side of the face. If you physically rotate the watch, the physical crown will match this location. This also makes it appear below the Home button instead of above. Changing the orientation of your Apple Watch does not change the way it works. It only changes how you use it.
How to Wear an Apple Watch if Left Handed
You can wear an Apple watch on your right hand if you are left-handed – it is entirely up to you. If you want to wear it on your right wrist and have the “Raise to Wake” feature working properly, you’d need to change the watch’s orientation.
Here’s how to change the orientation of your Apple Watch:
Using the Watch App Paired with Your iPhone
- Open the Watch App on your iPhone.
- Go to General > My Watch tab.
- Tap on Watch Orientation.
- Select the desired watch orientation, in this case “Right Wrist”, and close the app.

Using Your Apple Watch
- Unlock the Apple Watch.
- Tap on the Digital Crown to open the Main Screen.
- Go to Settings.
- Go to General settings.
- Tap on Orientation.
- Select your desired watch orientation, in this case “Right Wrist”.
- Close the Settings and Exit.
That’s how you can use an Apple Watch for left-handed use, i.e. to be worn on the right wrist.
The Apple Watch straps are also interchangeable, allowing you to reverse the straps and wear the watch easily on your right arm for left-handed use. Just unhook the Apple Watch straps using the buttons on the bottom of your watch and then switch the position of the straps so you don’t have to deal with a reversed strap.
Related: Tying a Tie if You’re a Left-Hander
Flipping the Apple Watch Upside Down
If you have changed the orientation of your Apple Watch, the face of your Apple Watch will appear upside down with the Digital Crown on the right side of the face. You will need to flip it to correct this problem. You can do so by rotating the face of the watch 180 degrees so that the Digital Crown appears on the left side.
- Go to My Watch.
- Next, tap on General.
- Select the Orientation option.
- Choose Left under the Digital Crown option if you are wearing the watch on the right hand.
Note that you don’t necessarily have to change both the watch and Digital Crown orientation settings if you don’t want to. They work independently of each other. So if you’re comfortable accessing the Digital Crown button on the right side of the face while wearing the watch on your right wrist, you can just change the watch orientation setting and leave the Digital Crown setting as is.
